
I remember the first time I tried to do a glam makeup look. My eyeshadow looked like two dark circles. My foundation sat on top of my skin like paint. I gave up and wiped everything off. That was years ago. Since then I have learned so much about what works and what does not work. Soft glam became my favorite style because it makes you look like you tried without looking like you tried too hard.
You know those women who walk into a room and everyone notices them? They have that glow. That is soft glam. And the secret is that it takes less skill than you think. You just need someone to show you the right way. That is what I want to do for you soft glam makeup tutorial for beginners.
What Soft Glam Actually Means?

My sister wears heavy makeup every day. Full coverage foundation. Dark cut crease eyeshadow. She looks beautiful but it takes her an hour and a half. My best friend wears nothing but mascara and lip balm. She looks fresh but sometimes she wants more polish. I fall right in the middle with soft glam. It gives me that extra something without asking for too much time or skill.
Soft glam means your skin looks smooth but you can still see your freckles or the natural flush of your cheeks. Your eyes have definition but nobody can tell where your eyeshadow starts and ends because it blends so well. Your lips look fuller but not like you painted them on. Everything works together like a team.
What You Actually Need To Buy?
Let me save you some money right now. You do not need fifty products. You do not need the most expensive brands. You need maybe eight things and some basic brushes. Here is what I use and what I recommend for you.
For your skin you need foundation that matches your jawline. Go to a store and test shades on your jaw. Walk outside and look in natural light. The right shade disappears into your skin. You also need concealer that is one shade lighter than your foundation. Get a loose powder too. Nothing fancy. Just something to set your makeup.
For your eyes you need a neutral palette. Mine has four shades. A light beige, a warm brown, a deeper brown, and a champagne shimmer. That is all you need. Get a mascara and an eyelash curler. For your face get a cream bronzer and a cream blush. Creams are easier to work with than powders when you are starting out.
For tools buy a makeup sponge, two eyeshadow brushes, and one big fluffy brush for powder. That is it. The sponge should be the kind that grows when you get it wet. The brushes should feel soft but not too flimsy. Drugstore brushes work fine.
Read Also: Dewy Skin Makeup Tutorial For Beginners
Before You Touch Any Makeup
This step matters more than anything else. I learned this the hard way after years of patchy foundation. Your skin needs to be clean and hydrated before makeup touches it. Think of your skin like a canvas. A rough dry canvas makes ugly paintings. A smooth prepared canvas makes beautiful paintings.
Wash your face with lukewarm water and your regular cleanser. Pat it dry with a towel. Do not rub. Rubbing irritates your skin. Take your moisturizer and put it all over your face and neck. Wait five minutes. I usually brush my teeth or pick out my outfit during this time. The moisturizer needs to sink in.
Primer comes next but you do not have to use it everywhere. I only put primer on my nose and the center of my forehead. Those areas have bigger pores on my face. The primer fills them in so my foundation looks smoother. If you have dry skin you might skip primer altogether and just use extra moisturizer.
Putting On Your Foundation The Right Way
Wet your sponge under the faucet. Squeeze it until no water drips out. It should feel damp and cool. Put a little foundation on the back of your hand. Dot your sponge into the foundation and start in the middle of your face. Your cheeks and nose and chin need the most coverage. Your forehead and jawline need less.
Bounce the sponge against your skin. Do not drag it. Dragging makes streaks. Bouncing pushes the foundation into your skin. Keep bouncing until you cannot see any edges. Move outward from your nose toward your ears. Use less product as you go outward. This gives you coverage where you need it and lightness where you do not.
Look at your face in the mirror. Do you see your skin through the foundation? Good. That is what you want. If you cannot see any skin you used too much. Take your damp sponge and press it over your whole face again. This picks up extra product and leaves you with a sheer finish.
Concealer goes under your eyes in a triangle shape. The triangle points down toward your cheeks. This shape brightens your whole under eye area better than just putting dots under your eyes. Blend it out with your sponge. Put a dot of concealer on any pimples or dark spots. Tap the sponge over each dot until it disappears.
Powder Only Where You Need It
Here is something most tutorials do not tell you. Powder makes your makeup last but it also makes your skin look flat. Soft glam needs some glow left behind. So powder only the parts of your face that get shiny. For me that is my nose, my chin, and between my eyebrows. I leave my cheeks and forehead alone.
Dip your fluffy brush into the powder and tap it on the side of the container. This gets rid of extra powder. Swirl the brush over your nose and chin and the center of your forehead. Use a light hand. You can always add more powder later if you get shiny. You cannot take powder away once it is on your face.
Your Eyes Are The Main Event
Curl your lashes before you do anything else to your eyes. Put the eyelash curler at the base of your lashes and squeeze gently. Hold for ten seconds. Release. Do this again in the middle of your lashes. This gives you a natural curl that opens up your eyes.
Take your fluffy eyeshadow brush and dip it into the warm brown shade. Tap off the extra. Close your eye and feel for your crease. That is the hollow part above your eyeball. Sweep the brush back and forth in that hollow. This creates shadow and depth. Keep sweeping until you cannot see a harsh line anywhere.
Now take the same brush and dip it into the light beige shade. Put this all over your eyelid from your lash line up to your crease. Blend it into the brown you already put down. The line between the two colors should disappear. That is how you know you blended enough.
Take a smaller brush and dip it into the champagne shimmer. Pat this onto the center of your eyelid. Patting keeps the sparkle on your lid. If you sweep the brush the sparkle goes everywhere. You want it concentrated right in the middle where it catches light and makes your eyes pop.
Take your fluffy brush and pick up whatever brown is still left on it. Run this along your lower lash line on the outer half of your eye. This grounds your whole eye look. It makes your upper eyeshadow connect with your lower eye. Keep it soft and smudged. Nobody should see a sharp line.
Put mascara on your lashes. Wiggle the wand at the base of your lashes and pull up. Wiggle at the base again and pull up again. Two coats is usually enough. One coat on your bottom lashes. If you want to go the extra mile take a brown pencil and gently line your upper waterline. This fills in the gaps between your lashes. Your lashes will look thicker without looking like you have eyeliner on.
Bronzer Blush And Highlighter
Cream products are your friends for soft glam. They melt into your skin and look like they belong there. Take your cream bronzer and warm it between your fingers. Smile and find the hollow of your cheeks. Put the bronzer right there. Blend it upward toward your ears. Blend it down just a little toward your jaw.
Put a little bronzer on your forehead near your hairline. Put a little on your jawline. Blend blend blend. You should not see any lines of product anywhere. The bronzer should look like a shadow on your face. Natural shadows are soft and gradual.
Blush goes on the apples of your cheeks. Smile again and find the round part. Put two dots of cream blush right there. Blend in circles. Blend upward toward your temples. Blend until the blush looks like you just came in from a walk in the cold. A healthy flush that soft glam makeup tutorial for beginners.
Highlighter goes on the tops of your cheekbones. Put a tiny dot there. Put a dot on the bridge of your nose. Put a dot above your upper lip. Blend each dot out with your finger. The highlight should catch light when you turn your head. It should not look like a stripe of glitter on your face.
Your Brows Frame Everything
Your eyebrows do not need to be twins. They are sisters. They should look related but not exactly the same. That is a rule I learned years ago and it saved me so much stress. Take a brow pencil that matches your natural hair color. Look for any bare spots in your brows. Make tiny hair strokes in those spots.
Focus your attention on the arch and the tail of your brows. Those areas tend to be lighter. Fill them in gently. Take a spoolie brush and brush your brows upward and outward. This blends everything together and softens any harsh lines. If you have brow gel you can brush that through to keep your brows in place.
Read: Bridal Makeup Tutorial for a Long-Lasting Glow
Your Lips Finish The Look
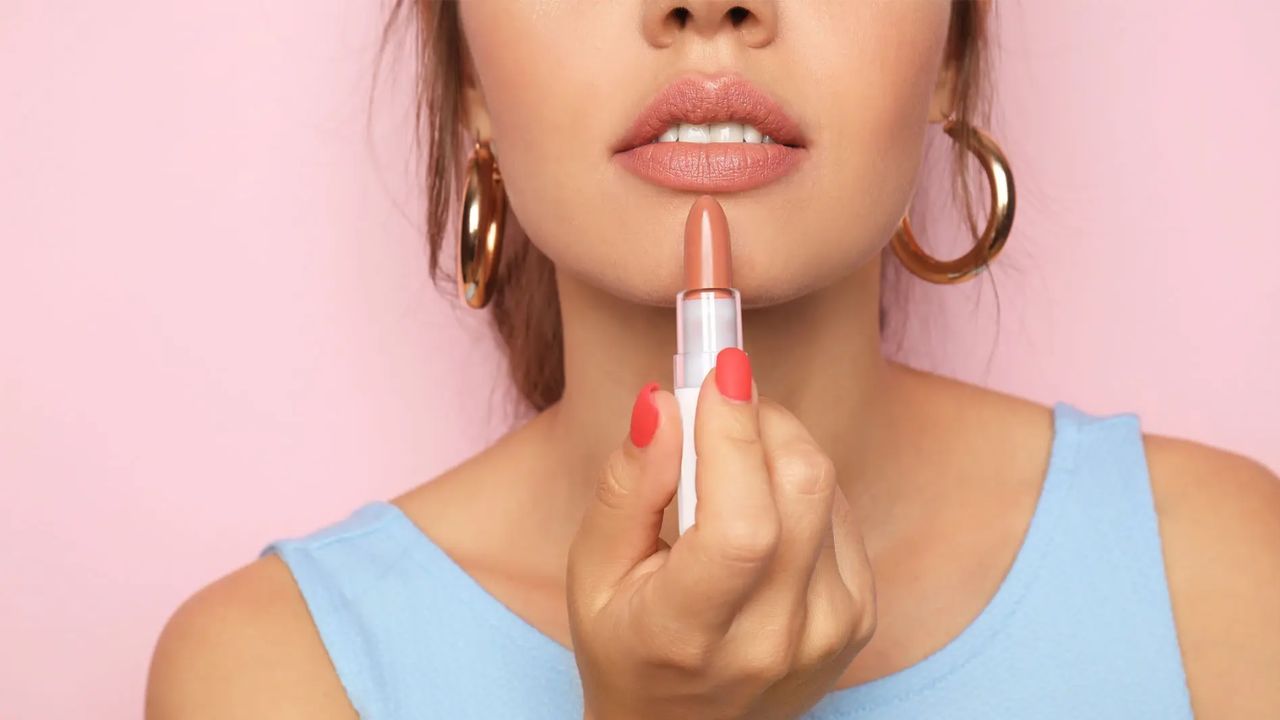
Pick a lipstick that looks like your natural lips but better. Maybe your lips are pale pink. Pick a slightly deeper pink. Maybe your lips are brownish. Pick a slightly warmer brown. Line your lips with a matching liner. This gives you a clean edge and helps your lipstick stay put.
Fill in your lips with your lipstick. Blot them with a tissue. Blotting takes off the extra product and leaves a stain behind. The stain looks like your lips are naturally that color. You can add a little gloss to the center of your bottom lip if you want extra shine.
Mistakes I Made So You Do Not Have To
I put on way too much foundation my first time. My face looked like a mask. I could see the line where my foundation ended at my jaw. Start with less foundation than you think you need. You can always add more. You cannot take it away without starting over.
I did not blend my eyeshadow enough. I had a brown stripe across my crease. It looked ridiculous. Keep blending until you cannot see where one color ends and another begins. Your brush should move back and forth dozens of times.
I bought the wrong concealer shade. It was too light and made my under eyes look gray. Test your concealer on your jawline just like you test your foundation. The right shade brightens. The wrong shade highlights the wrong things.
I powdered my whole face and looked like a ghost. Soft glam needs some glow. Only powder the areas that get oily. Leave the rest of your face alone. Your natural skin oils will come through and give you that coveted glow.
I put highlighter on like I was trying to signal a plane. Less is more with highlighter. Start with a tiny dot and blend it out. You can add more if you want. Too much highlighter looks greasy instead of glowy.
Keeping Your Makeup In Place
Setting spray is the last thing you put on your face. Close your eyes and hold the bottle about an arm's length away. Spray a T shape and then an X shape. This covers your whole face. Let it dry on its own. Do not touch your face while it dries.
If your skin gets oily during the day blot it with a tissue before adding powder. Blotting takes oil off without messing up your makeup. Powdering on top of oil makes your makeup look cakey. Blot first then powder if you need it.
Drink water throughout the day. Hydrated skin holds makeup better. Dehydrated skin lets makeup settle into fine lines and look patchy. Water helps your skin from the inside out.
Give Yourself Time To Learn
Your first attempt at soft glam will probably not look perfect. That is okay. My first attempt looked terrible. My fifth attempt looked okay. My twentieth attempt looked really good. Every time you do your makeup you get a little better.
You learn how much product your skin likes. You learn which colors flatter your face. You learn the right pressure for your brushes. You cannot learn these things from reading tutorials. You learn them from doing your makeup over and over again.
Take pictures of your makeup each time. Compare them. Notice what improved. Notice what still needs work. This helps you see your progress even when you feel stuck. Progress happens slowly. But it happens if you keep practicing.
Conclusion
Soft glam makeup changed how I feel about myself. I used to avoid mirrors because I did not like what I saw. Now I look in the mirror and feel good about my face. Not because I changed how I look. But because I learned how to show my best self to the world.
Makeup is not about hiding who you are. Makeup is about expressing who you are. Soft glam lets you express yourself without shouting. It whispers "I care about myself" and "I took time for myself today."
You have everything you need to start this journey. The products are simple. The steps are clear. The only thing missing is your willingness to try. So try. Make mistakes. Learn from them. Try again. That is how every single person who is good at makeup got good at makeup.